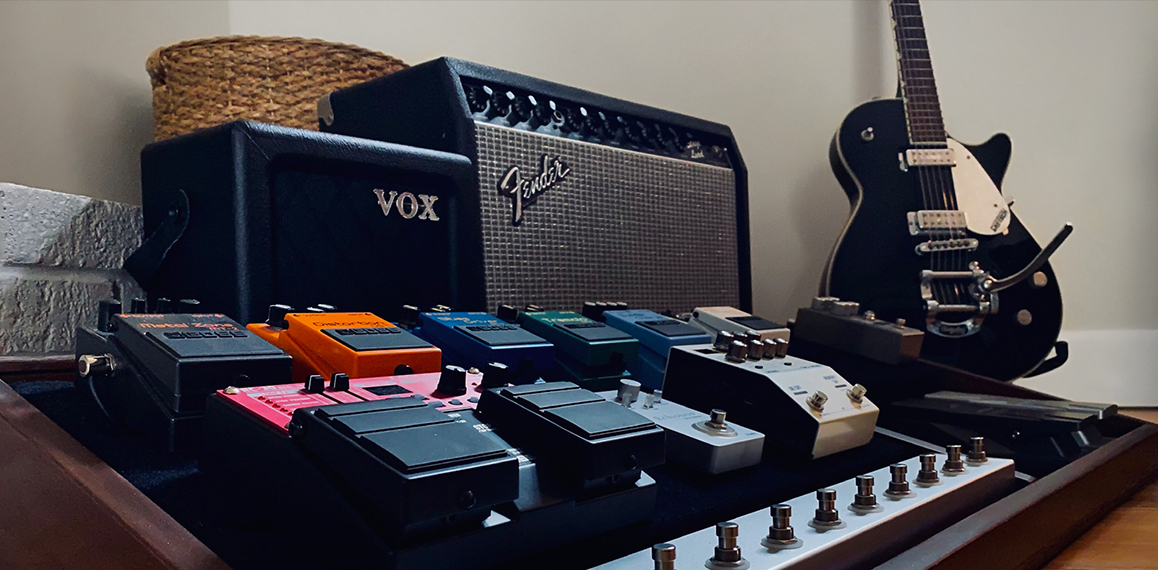
I’ve been playing guitar for most of my life and over the years I’ve acquired a rather large collection of effects pedals. About six months ago I decided the time had come to get organized and build myself a suitable pedalboard for my pseudo home studio.
Well of course I couldn’t just build any ordinary setup, that would be too easy. Instead I decided to feed my obsession for anything that requires research, planning, design and my love of carpentry. So like many projects I embark on I figured I would write about the process for anyone that might find it useful or want to tackle building their own custom pedalboard rig.
Step 1: Ideation and Research
The first step in any pedalboard build is to determine what type of setup you want to build. Whether it’s for home/studio use (non-portable) or for road use (portable). This has a huge impact on size, layout and the materials you use to build it. In my case I was building my pedalboard for home/studio use, meaning size and weight really weren’t a huge factor. For road use you may want to compromise a bit on how many pedals you include on the board. Limiting pedals to only essential ones and eliminating duplicate effects both of which can help eliminate extra weight. That said… form should always follow function. Therefore, your new pedalboard should never compromise your “signature” tone. Once you have some initial ideas on what you want to build, head over to Google Images and do some searches for “custom pedalboards”. Seeing the possiblities can help with the next step.
Step 2: Creating a Pedal Configuration
Since accurate dimensions are a fairly critical part of any build project, sketching out your board with the pedals you plan to use or even creating a digital layout on your computer can eliminate future frustration and mistakes. It also allows you to figure out the best layout before you begin building. I created a layout of my ideal pedalboard using a design application called Sketch. It allowed me to create scale illustrations of my pedals and move them around until I had a solid blueprint of my ideal setup. I also included some pedals that I didn’t currently own but had planned to purchase in the future. Ultimately the layout of your pedalboard should be based on how you use your pedals. Putting your most used pedals closest to the front isn’t a bad idea and can ensure seamless transitions when playing.
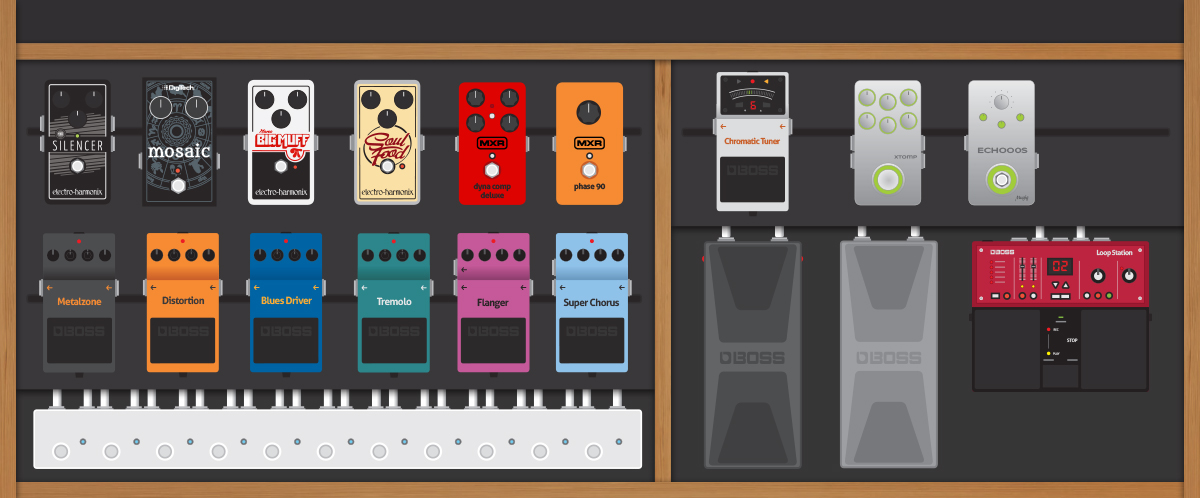
If you want to take your pedalboard experience to a new level it might be worth looking into a TBEL (True Bypass Effects Looper) pedal. Which basically puts a row of buttons at the front of your pedalboard allowing you to toggle each pedal on and off from a more convenient location. For my setup I went with the a solid 10 channel TBEL pedal from Road Rage Pro Gear based in Canada. Each pedal is made to order and the build quality is second to none. If you own a lot of high end pedals like a Strymon that include midi connections you might even want to spring for a TBEL with midi capability allowing you to access unique a series of configurations on each pedal with just a couple clicks. If you do end up using a TBEL switcher make sure you get the exact dimensions and specs of the switcher you intend to use so you can accommodate it in your pedalboard plans.
Step 3: Selecting Building Materials
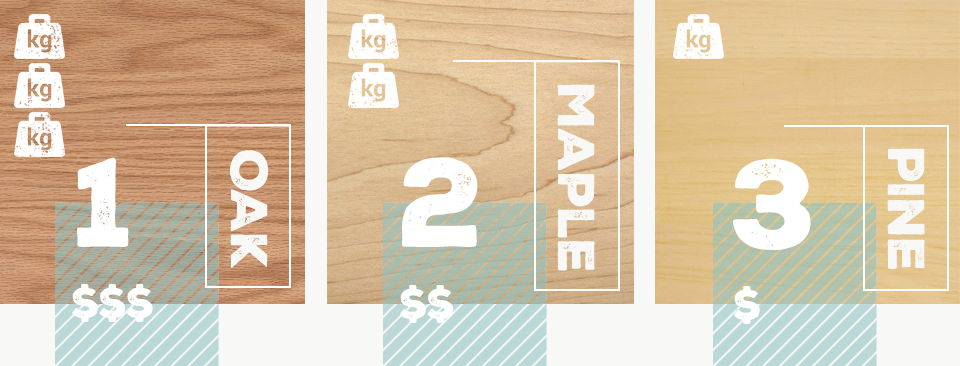
Now that you have a layout, you can plan your build. This is where you actually get to figure out what you need to build this thing of beauty you have conceptualized. Unless you plan to build your pedalboard out of metal you will likely use wood. Choosing the right wood is really about durability, weight and cost. Oak is durable but heavy due to its density and can be quite pricey. Pine is inexpensive but very soft and therefore less durable. I personally chose Maple which is fairly dense and durable but not too heavy and is much cheaper than oak.
Step 4: Creating a Measurements Diagram
Once you determine the wood you want to use and the thickness of the material you are using, you can begin to plan out your measurements. Regardless of whether you plan your measurements on paper or digitally you want to measure your pedals first and make sure you accommodate any extra width or height that the plugs and cords will require once all the pedals are plugged in. Then create a diagram of the pedal board with exact measurements of all he components needed for the build. You will need to take into account the thickness of each board you use as well as the width and height. For my pedalboard I used a somewhat shallow angle of 12° for the actual pedal surface but you can use whatever is comfortable to you.
Step 5: Organizing your Tools
Although you can build a simple pedalboard in a weekend with some basic hand tools, a pedalboard like the one I built is nearly impossible to construct without the right tools and takes some time to build. As far as tools go, I recommend a good electric table saw, a jig saw, handheld orbital sander, power drill, a 1 inch and a 1½ inch hole saw bit, various countersink bits, some carpentry clamps and a set of saw horses. If you like to build things like I do, then you may already have most of these tools lying around in your garage or workshop.
Step 6: Cutting Out the Components
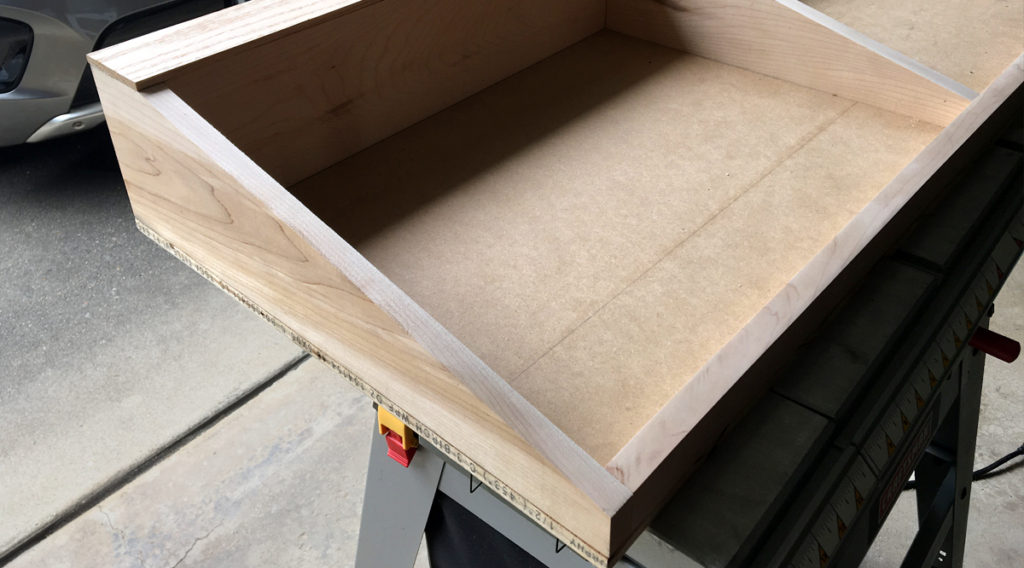
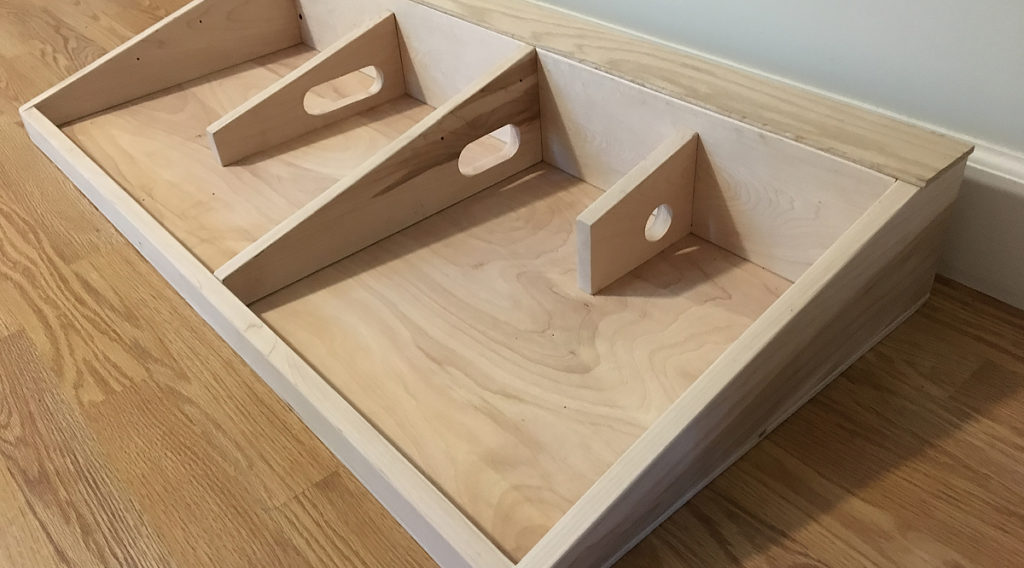
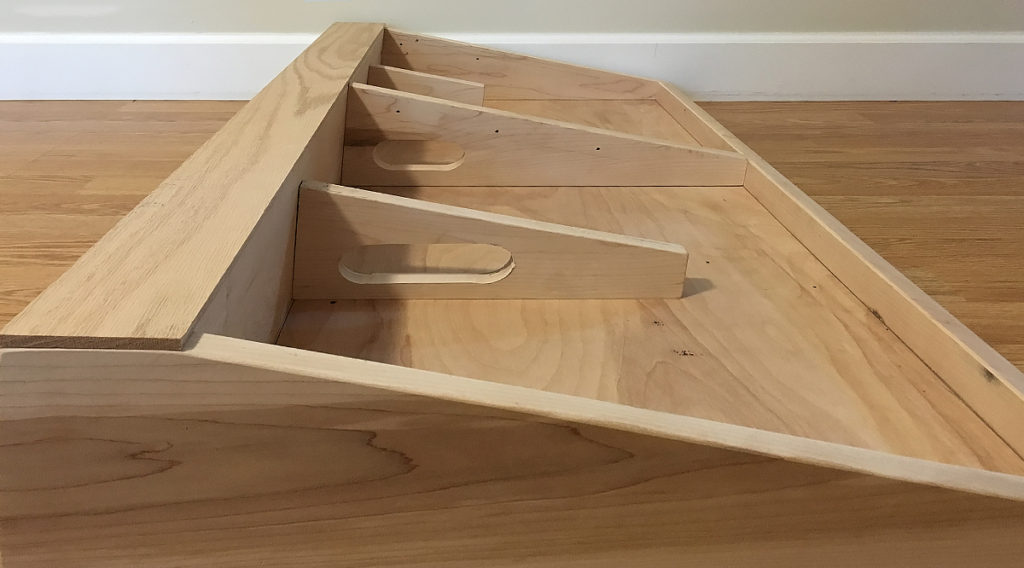
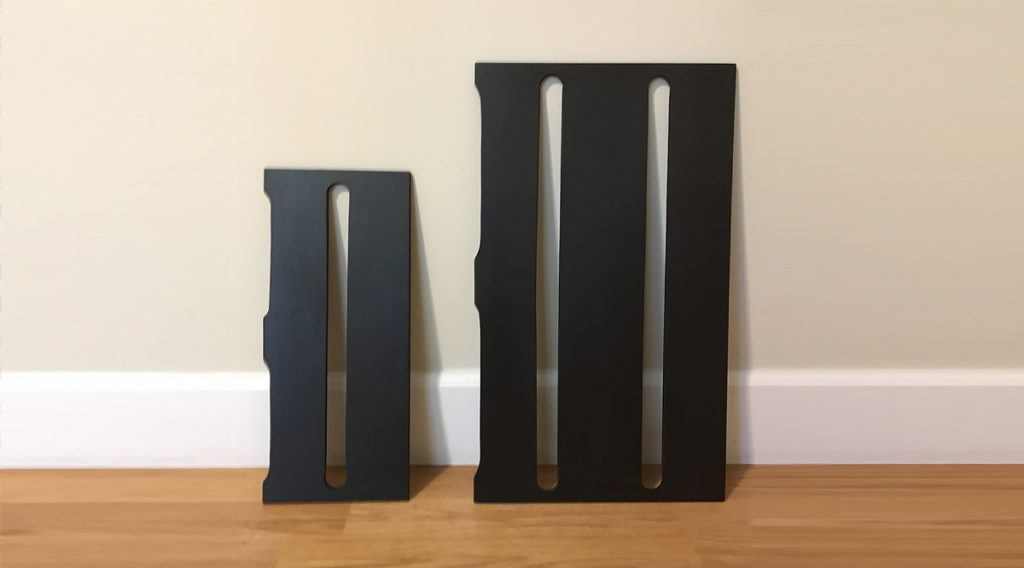
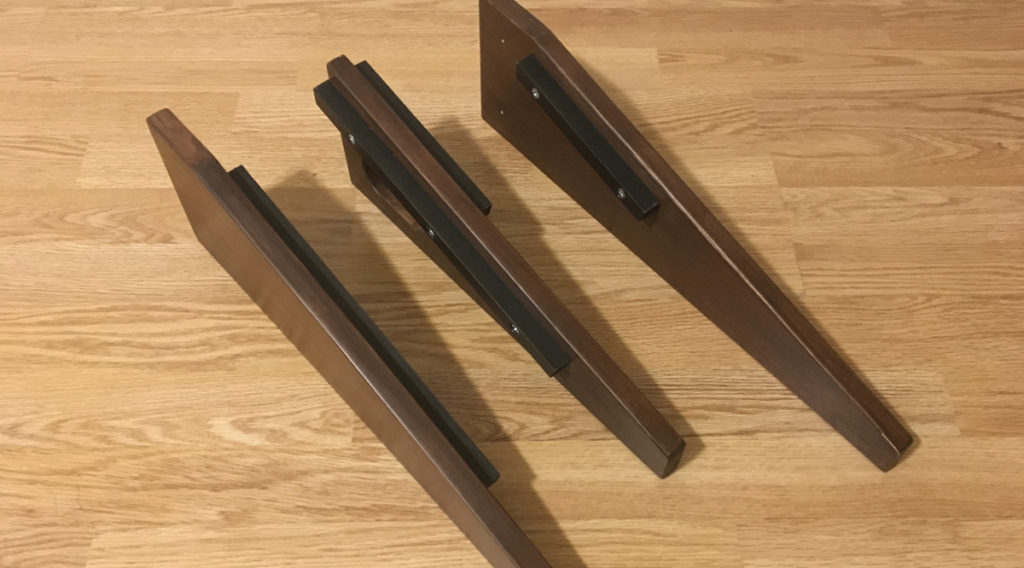
Before you can build your board you need to cut out all the components using the Measurements Diagram you created in Step 4. Don’t rush this process. Trust me when I say, that it can lead to future frustration if you do. Be exact. Measure twice and cut once. As I cut out the components of my pedalboard, I took some time to dry-fit the pieces together on my garage floor.
Dry-fitting is a process which involves fitting the component pieces together without glue or fasteners of any kind. Doing this allows you to make adjustments for minor imperfections that you may have made when cutting. As long as you accommodated for a little extra room in your pedal layout, a deviation of 1/4” or 1/8” is not going to be a big deal when constructing the pedalboard. Dry-fitting your components in place will alert you to these deviations so you can make adjustments to other pieces as needed. Below is my finished pedalboard components ready for finishing and assembly.
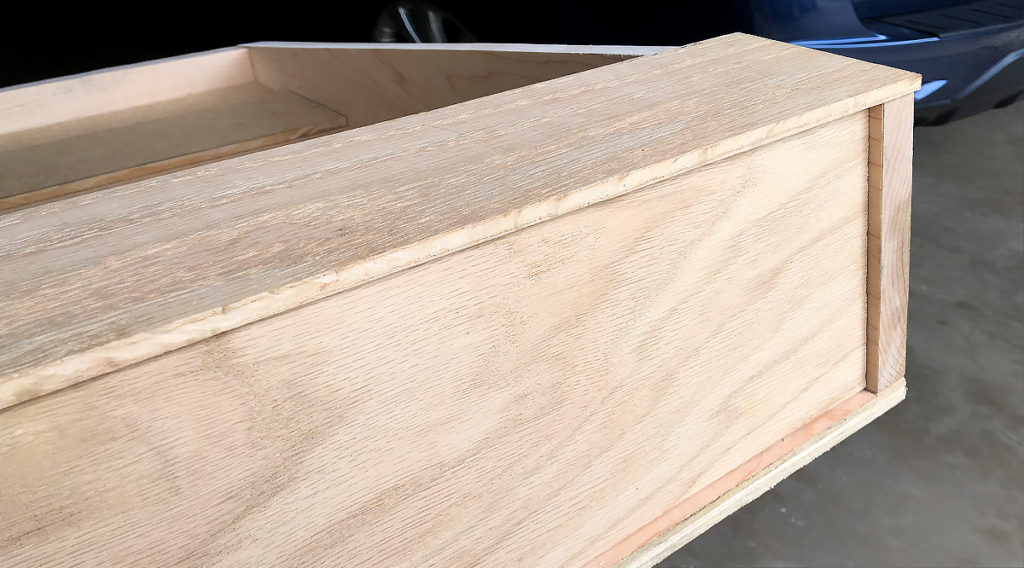
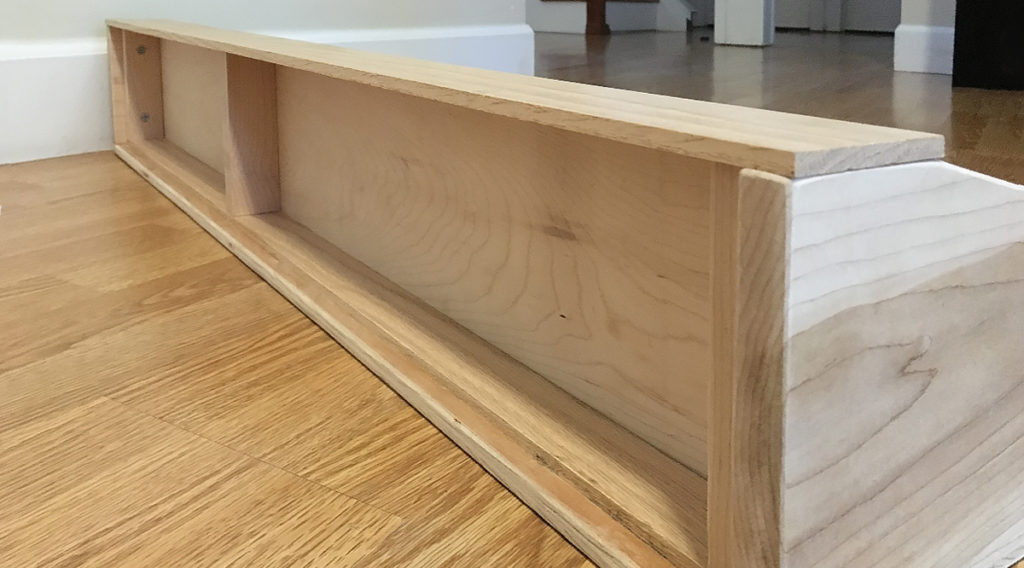
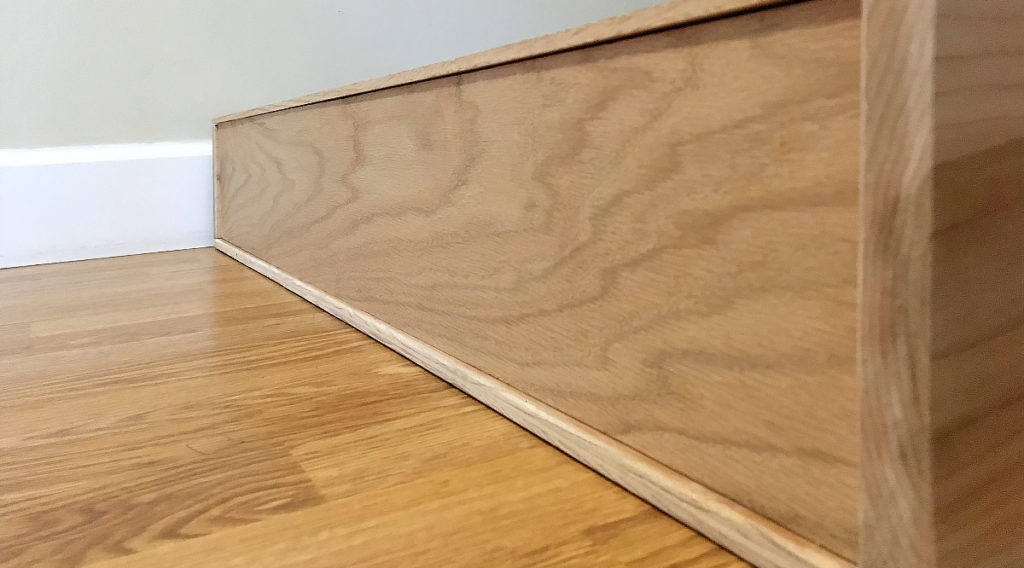
Step 7: Appling a Finish to the Components
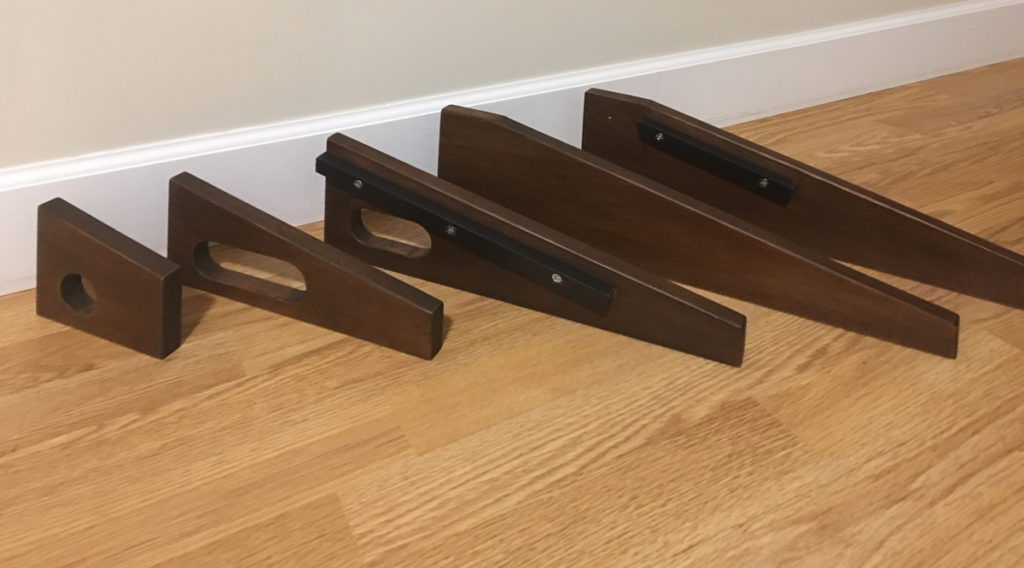
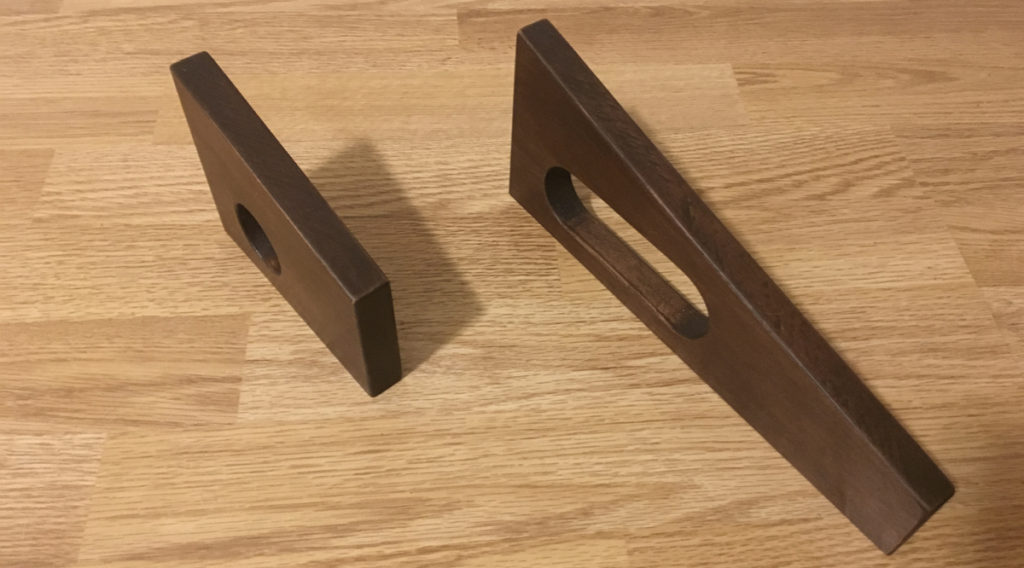
Unless you are applying a simple clear coat to the wood you may actually want to finish your pedalboard before assembling it, as I did. By finishing each component of the board separately you don’t have to worry about awkward corners and edges found in a pre-assembled piece. How you decide finish your board is completely up to you and your personal preferences. If you stain the wood, I recommend using a wipe on stain making sure the space you are applying it is completely clear of dust. Light sanding between coats can ensure smooth results. As for the final clear coat, I used a spray polyurethane which gives nice even results and doesn’t show any brush strokes. Below are pics of all the pieces after I applied the last finishing coat just prior to assembly.
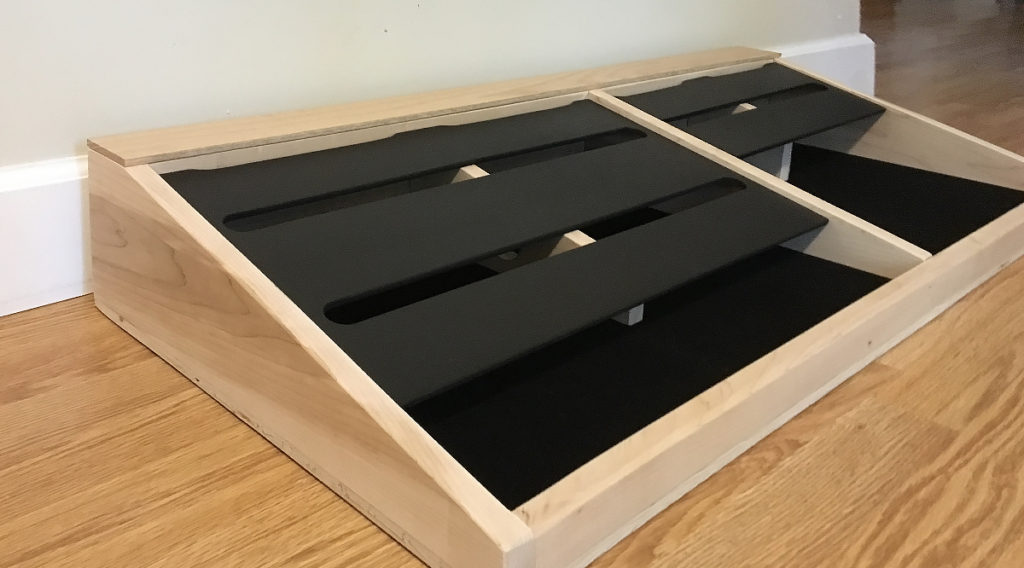
On the pedal foot bed surface I first painted the boards black and then used 3M Super 77 adhesive to apply large sheets of black Velcro loop fabric to them. The Velcro was purchased in large sheets from an online fabric store. Using an Exacto blade you can easily cut out the holes in the foot bed surface after the Velcro is applied.
Step 8: Assembling the Board
Yep the time has come to assemble the work of art you have labored over. Just like in Step 6 you don’t want to rush this process. Hopefully by now you have cut out all the components, sanded them to a baby smooth finish and dry fit them together to make sure everything will fit properly when assembled. When you assemble the components be methodical about it and make sure you figure out the best assembly process before you actually do it. Prep your work surface, get your wood glue and clamps ready.
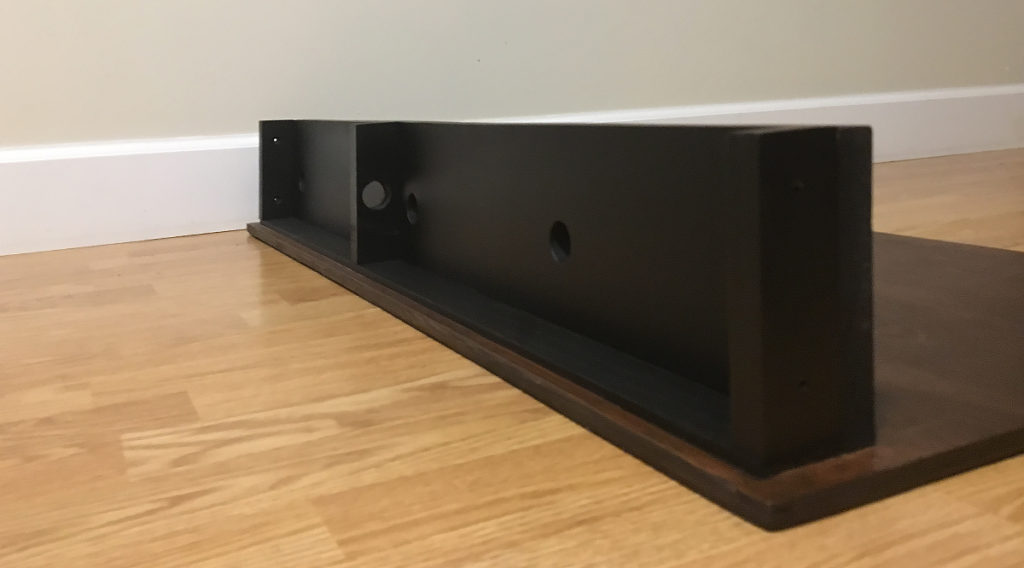
Some people may be comfortable using nails and even a pneumatic nail gun for assembly but personally I used wood screws to assemble my entire board. Given the constant abuse that pedalboards typically get from stomping on them, I didn’t want to risk any part of the rig getting loose over time. Furthermore, I designed my pedalboard so that every major structural component was fastened from the bottom of the board so you never see a single screw on the board itself. If you do use screws on your pedalboard it is important to remember two things that will ensure the best results.
- Mark and pre-drill all your your holes to ensure the wood does not split when driving in the screws.
- Countersink your holes with a countersink bit so that your screws lie completely flat.
You may want to do this before you actually apply finish all your boards but if your screws are hidden on the underside of the board it really shouldn’t matter since they won’t be seen anyway.
Step 9: Wiring Up the Board
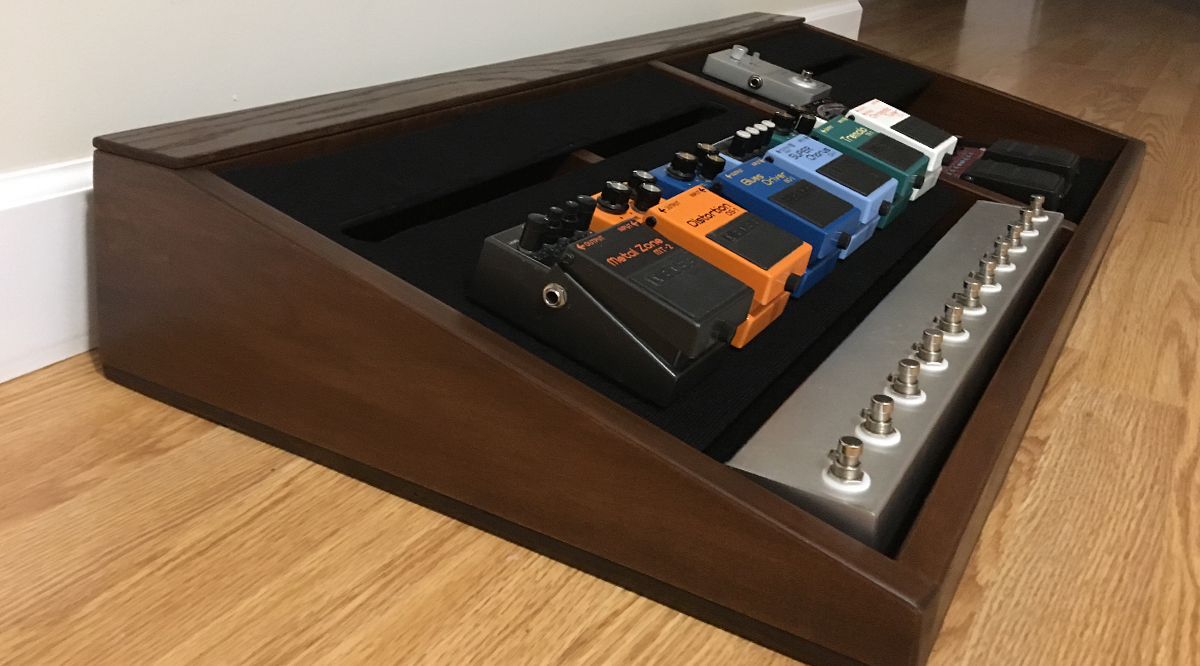
The last step is quite possibly the most satisfying in the whole process. With your pedalboard constructed you can now wire it up so you can enjoy hours of playing to come. To wire the board I found that assembling my own TRS audio cables allowed me to cut them to the exact lengths that I wanted which reduces clutter and excess cable. Most audiophiles will tell you that the least distance an audio signal needs to travel through a cable the better the signal output at the end. So shorter cables are not only better sounding but can be less expensive. With that in mind… cables can be pricey, especially when wiring up a large pedal board. Make sure you leave money at the end of the project to purchase the power supply and cables you need to actually make you pedalboard work.
I hope you found this article educational. If you want to build your own pedalboard and like the layout of the one I have built, use the link below to download the plans which are drawn to scale. And if you have questions about the build or enjoyed the article, feel free to leave a comment below.
19
Comment